1. Spring Cloud Ribbon(负载均衡)介绍及使用 目前主流的负载均衡方案分两种:
集中式负载均衡,在消费者和服务提供方中间使用独立的代理方式进行负载均衡,比如Nginx。
客户端自己做负载均衡,根据自己的请求情况做负载,Ribbon就属于客户端自己做负载。
Spring Cloud Ribbon是一个基于 HTTP 和 TCP 的客户端负载均衡工具,它基于Netflix Ribbon 实现。通过Spring Cloud的封装,可以让我们轻松的将面向服务的REST模板请求自动转换成客户端负载均衡的服务调用。
1.1 Ribbon模块 Ribbon模块介绍如下表:
名称
说明
ribbon-loadBalancer
负载均衡模块,可以独立使用,也可以和别的模块一起使用
Ribbon
内置的负载均衡算法都实现在其中
ribbon-eureka
基于Eureka封装的模块,能够快速、方便地集成Eureka
ribbon-transport
基于Netty实现多协议的支持,比如HTTP、TCP、UDP等
ribbon-HTTPClient
基于HTTPClient封装的REST客户端,集成了负载均衡模块,可以直接在项目中使用来调用接口
ribbon-example
Ribbon使用代码示例,通过这些示例学习可以事半功倍
ribbon-core
核心且通用的代码,客户端API的一些配置和其他API的定义
1.2 Ribbon的使用 进行Ribbon负载均衡的使用测试,首先需要创建搭建Eureka平台,并搭建两个客户端模块接口注册进Eureka注册中心,两个接口的端口分别是8081、8082。
创建Eureka注册中心:
首先,创建一个模块eureka-server,相关的依赖如下:
1
2
3
4
5
6
7
8
9
10
11
12
13
14
15
16
17
18
19
20
21
22
23
24
25
26
27
28
29
30
31
<parent> <groupId>org.springframework.boot</groupId> <artifactId>spring-boot-starter-parent</artifactId> <version>2.0.6.RELEASE</version> </parent> <dependencyManagement> <dependencies> <dependency> <groupId>org.springframework.cloud</groupId> <artifactId>spring-cloud-dependencies</artifactId> <version>Finchley.SR2</version> <type>pom</type> <scope>import</scope> </dependency> </dependencies> </dependencyManagement> <dependencies> <dependency> <groupId>org.springframework.cloud</groupId> <artifactId>spring-cloud-starter-netflix-eureka-server</artifactId> <version>2.1.3.RELEASE</version> </dependency> <dependency> <groupId>org.springframework.boot</groupId> <artifactId>spring-boot-starter-security</artifactId> <version>2.2.1.RELEASE</version> </dependency> </dependencies>
接着编写application.properties配置文件:
1
2
3
4
5
6
7
8
9
10
11
12
13
14
15
16
17
18
19
20
21
22
23
# 服务器端口 server.port=8010 # 服务应用名称 spring.application.name=eureka-server # 此应用为注册中心,false:不向注册中心注册自己。 eureka.client.register-with-eureka = false # 注册中心职责是维护服务实例,false:不检索服务。 eureka.client.fetch-registry=false eureka.client.service-url.defaultZone=http: # spring-security的配置信息: spring.security.user.name=xiaozeng spring.security.user.password=123456 #eureka.instance.prefer-ip-address=true # eureka.instance.status-page-url=www.baidu.com eureka.server.enableSelfPreservation=false
其中,spring.security.user.name和spring.security.user.password是使用了Security的安全管理,需要编写配置类进行配置:
1
2
3
4
5
6
7
8
9
10
11
12
13
14
15
16
17
18
19
20
package com.self.eurekaserver.config;import org.springframework.context.annotation.Configuration;import org.springframework.security.config.annotation.web.builders.HttpSecurity;import org.springframework.security.config.annotation.web.configuration.EnableWebSecurity;import org.springframework.security.config.annotation.web.configuration.WebSecurityConfigurerAdapter;@Configuration @EnableWebSecurity public class WebSecurityConfig extends WebSecurityConfigurerAdapter @Override protected void configure (HttpSecurity http) throws Exception http.csrf().disable(); http.authorizeRequests().anyRequest().authenticated().and().httpBasic(); } }
最后编写启动类:
1
2
3
4
5
6
7
8
9
10
11
12
13
14
package com.self.eurekaserver;import org.springframework.boot.SpringApplication;import org.springframework.boot.autoconfigure.SpringBootApplication;import org.springframework.cloud.netflix.eureka.server.EnableEurekaServer;@EnableEurekaServer @SpringBootApplication public class EurekaServerApplication public static void main (String[] args) SpringApplication.run(EurekaServerApplication.class ,args ) ; } }
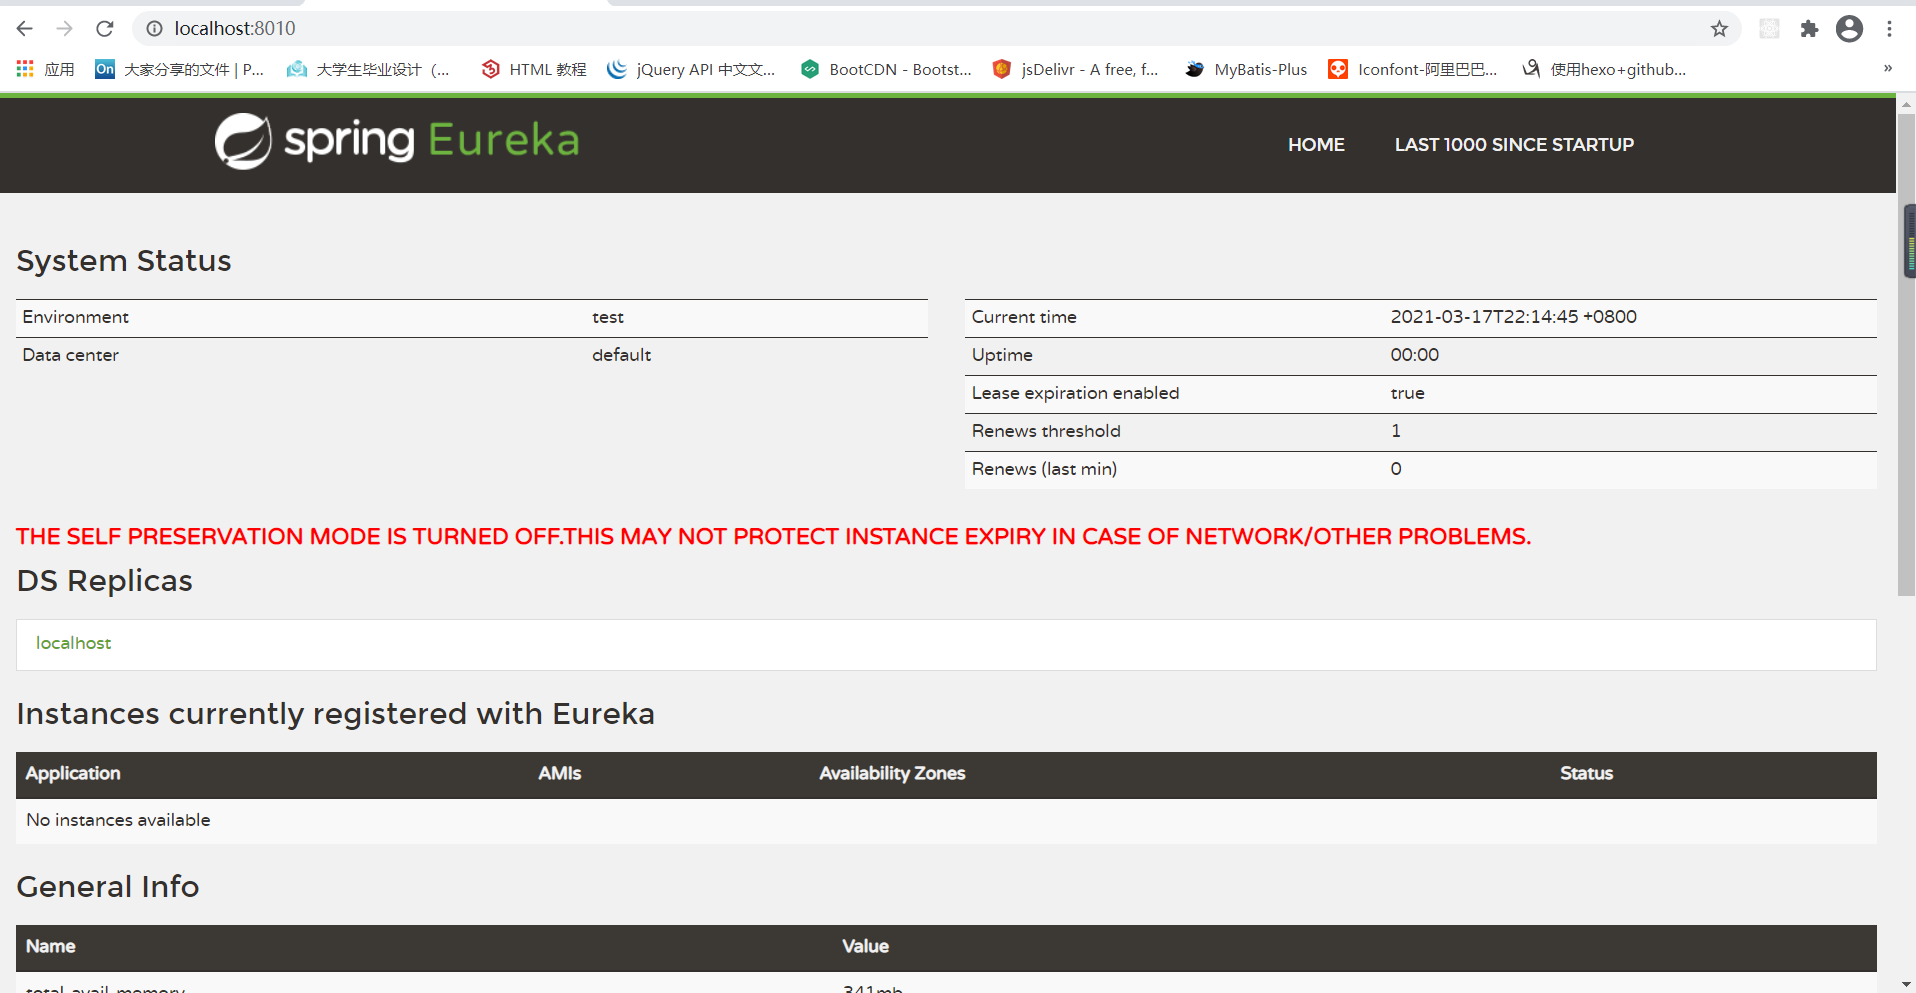
最后,启动主启动类,访问页面时输入输入配置文件的用户名密码即可登录Eureka的Web控制界面,如下图:
创建两个模块接口:
分别创建两个模块,ribbon-provider-8081和ribbon-provider-8082,并将两个模块注册进注册中心,两个模块的代码是一样的,所以这里只写一份就可以了:
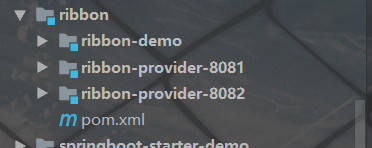
首先,附上模块的结构,方便大家的创建:
先将项目的相关依赖导入:
1
2
3
4
5
6
7
8
9
10
11
12
13
14
15
16
17
18
19
20
21
22
23
24
25
26
27
28
29
30
31
<parent> <groupId>org.springframework.boot</groupId> <artifactId>spring-boot-starter-parent</artifactId> <version>2.0.6.RELEASE</version> </parent> <dependencyManagement> <dependencies> <dependency> <groupId>org.springframework.cloud</groupId> <artifactId>spring-cloud-dependencies</artifactId> <version>Finchley.SR2</version> <type>pom</type> <scope>import</scope> </dependency> </dependencies> </dependencyManagement> <dependencies> <dependency> <groupId>org.springframework.boot</groupId> <artifactId>spring-boot-starter-web</artifactId> <version>2.3.0.RELEASE</version> </dependency> <dependency> <groupId>org.springframework.cloud</groupId> <artifactId>spring-cloud-starter-netflix-eureka-client</artifactId> <version>2.1.0.RELEASE</version> </dependency> </dependencies>
接着编写application.properties配置文件:
1
2
3
4
5
6
7
8
9
10
11
12
13
14
15
16
# 服务端口 server.port=8081 # 服务应用名称 spring.application.name=ribbon-provider-8081 # Eureka注册中心地址 eureka.client.service-url.defaultZone=http: # 使用IP注册 eureka.instance.prefer-ip-address=true # 定义实例ID格式 eureka.instance.instance-id=${spring.application.name}:${spring.cloud.client.ip-address}:${server.port} eureka.instance.status-page-url=http:
【注意:两个模块的端口号记得及时做修改】
编写主启动类:
1
2
3
4
5
6
7
8
9
10
11
12
13
14
package com.self.ribbon;import org.springframework.boot.SpringApplication;import org.springframework.boot.autoconfigure.SpringBootApplication;import org.springframework.cloud.netflix.eureka.EnableEurekaClient;@SpringBootApplication @EnableEurekaClient public class Ribbon8081Application public static void main (String[] args) SpringApplication.run(Ribbon8081Application.class ,args ) ; } }
然后就是写一个/user/hello的接口,方便客户端使用Ribbon进行调用:
1
2
3
4
5
6
7
8
9
10
11
12
13
14
15
16
package com.self.ribbon.controller;import org.springframework.web.bind.annotation.GetMapping;import org.springframework.web.bind.annotation.RequestMapping;import org.springframework.web.bind.annotation.RestController;@RestController @RequestMapping ("user" )public class Hello @GetMapping ("hello" ) public String hello () return "Hello Ribbon,I am 8081" ; } }
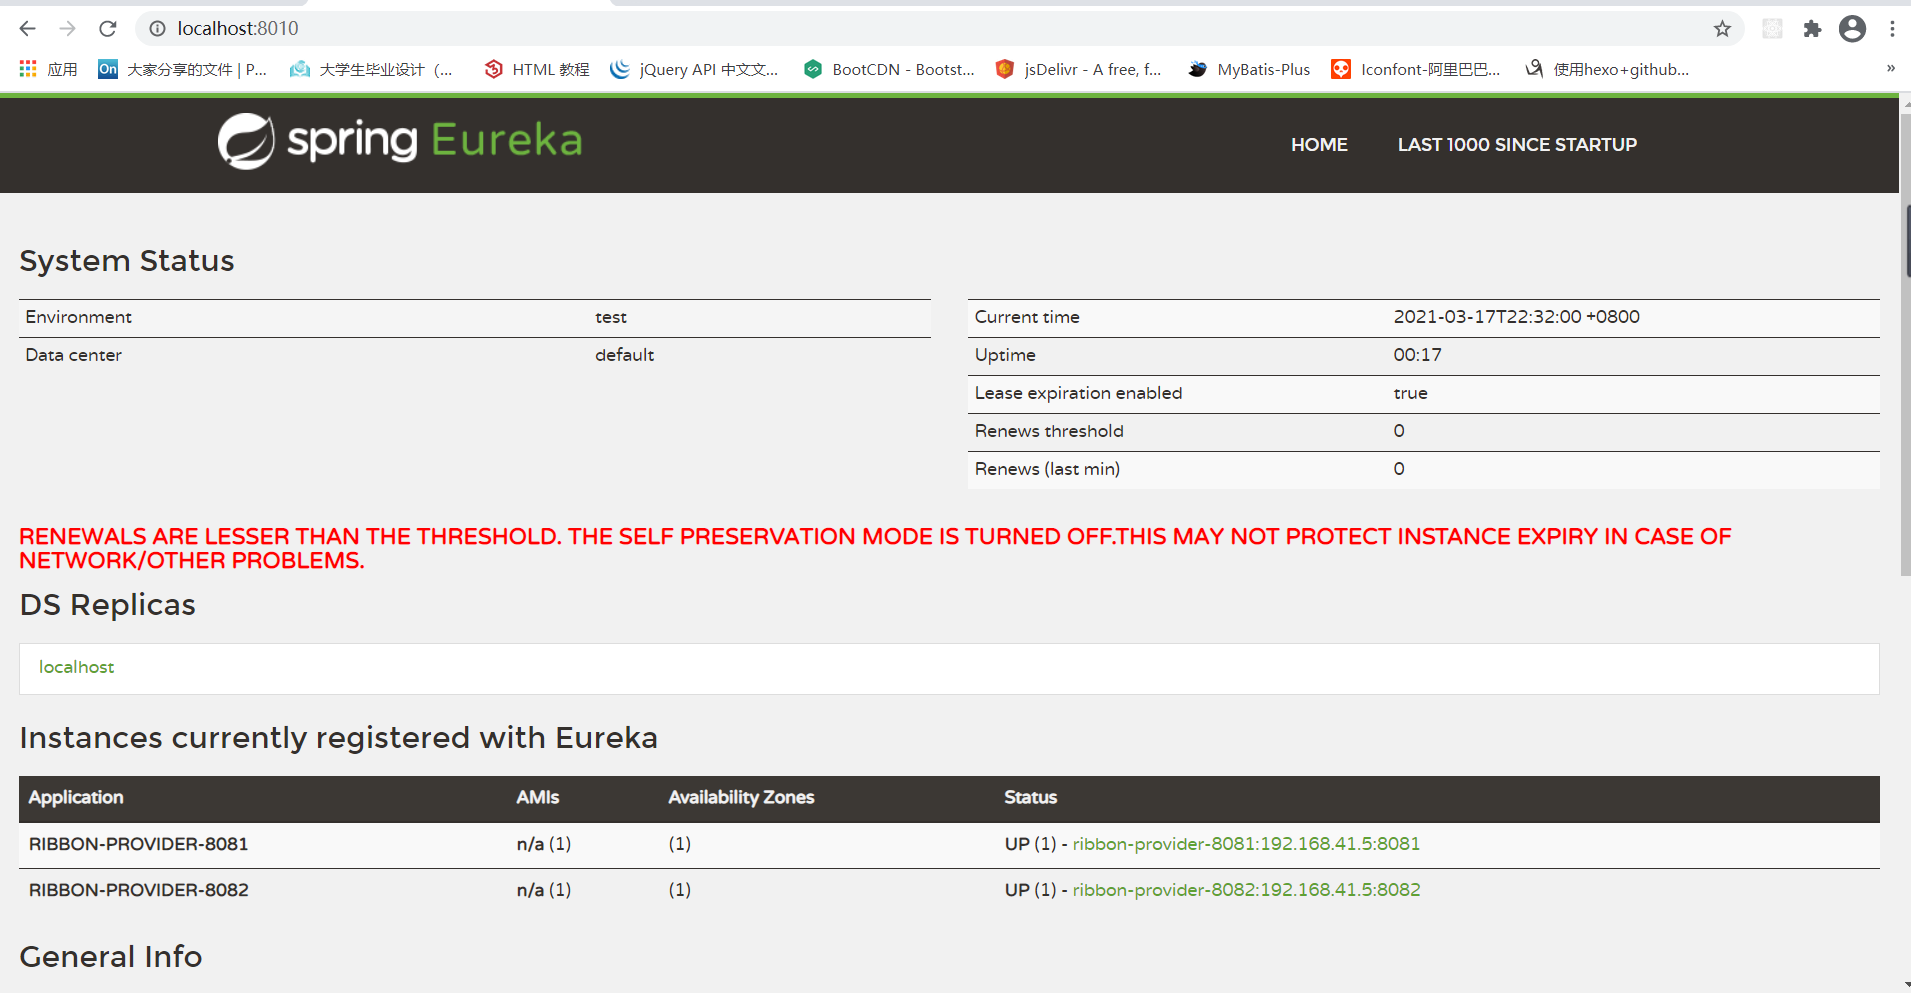
最后,编写完成两个模块代码之后,启动即可。
会发现两个接口都注册进了注册中心:
编写Ribbon客户端调用两个模块中的user/hello接口:
创建ribbon-demo模块,使用Ribbon客户端调用注册中心中的两个接口,通过观察即可发现调用接口的次数不一样。
首先导入依赖:
1
2
3
4
5
6
7
8
9
10
11
12
13
14
15
16
17
18
19
20
21
22
23
24
25
26
27
28
<dependencies> <dependency> <groupId>com.netflix.ribbon</groupId> <artifactId>ribbon</artifactId> <version>2.3.0</version> </dependency> <dependency> <groupId>com.netflix.ribbon</groupId> <artifactId>ribbon-core</artifactId> <version>2.3.0</version> </dependency> <dependency> <groupId>com.netflix.ribbon</groupId> <artifactId>ribbon-loadbalancer</artifactId> <version>2.3.0</version> </dependency> <dependency> <groupId>io.reactivex</groupId> <artifactId>rxjava</artifactId> <version>1.3.8</version> </dependency> <dependency> <groupId>com.google.guava</groupId> <artifactId>guava</artifactId> <version>28.0-jre</version> <scope>compile</scope> </dependency> </dependencies>
这里直接使用简单的main方法实现接口调用:
1
2
3
4
5
6
7
8
9
10
11
12
13
14
15
16
17
18
19
20
21
22
23
24
25
26
27
28
29
30
31
32
33
34
35
36
37
38
39
40
41
42
43
44
45
46
47
48
49
50
51
52
package com.self.ribbon;import com.google.common.collect.Lists;import com.netflix.loadbalancer.ILoadBalancer;import com.netflix.loadbalancer.LoadBalancerBuilder;import com.netflix.loadbalancer.Server;import com.netflix.loadbalancer.reactive.LoadBalancerCommand;import com.netflix.loadbalancer.reactive.ServerOperation;import rx.Observable;import java.io.InputStream;import java.net.HttpURLConnection;import java.net.URL;import java.util.List;public class RibbonClient public static void ribbonClient () List<Server> serverList = Lists.newArrayList(new Server("localhost" , 8081 ), new Server("localhost" , 8082 )); ILoadBalancer loadBalancer = LoadBalancerBuilder.newBuilder().buildFixedServerListLoadBalancer(serverList); for (int i = 0 ; i < 5 ; i++) { String result = LoadBalancerCommand.<String>builder().withLoadBalancer(loadBalancer).build() .submit(new ServerOperation<String>() { public Observable<String> call (Server server) try { String addr = "http://" + server.getHost() + ":" + server.getPort() + "/user/hello" ; System.out.println(" 调用地址:" + addr); URL url = new URL(addr); HttpURLConnection conn = (HttpURLConnection) url.openConnection(); conn.setRequestMethod("GET" ); conn.connect(); InputStream in = conn.getInputStream(); byte [] data = new byte [in.available()]; in.read(data); return Observable.just(new String(data)); } catch (Exception e) { return Observable.error(e); } } }).toBlocking().first(); System.out.println(" 调用结果:" + result); } } public static void main (String[] args) RibbonClient.ribbonClient(); } }
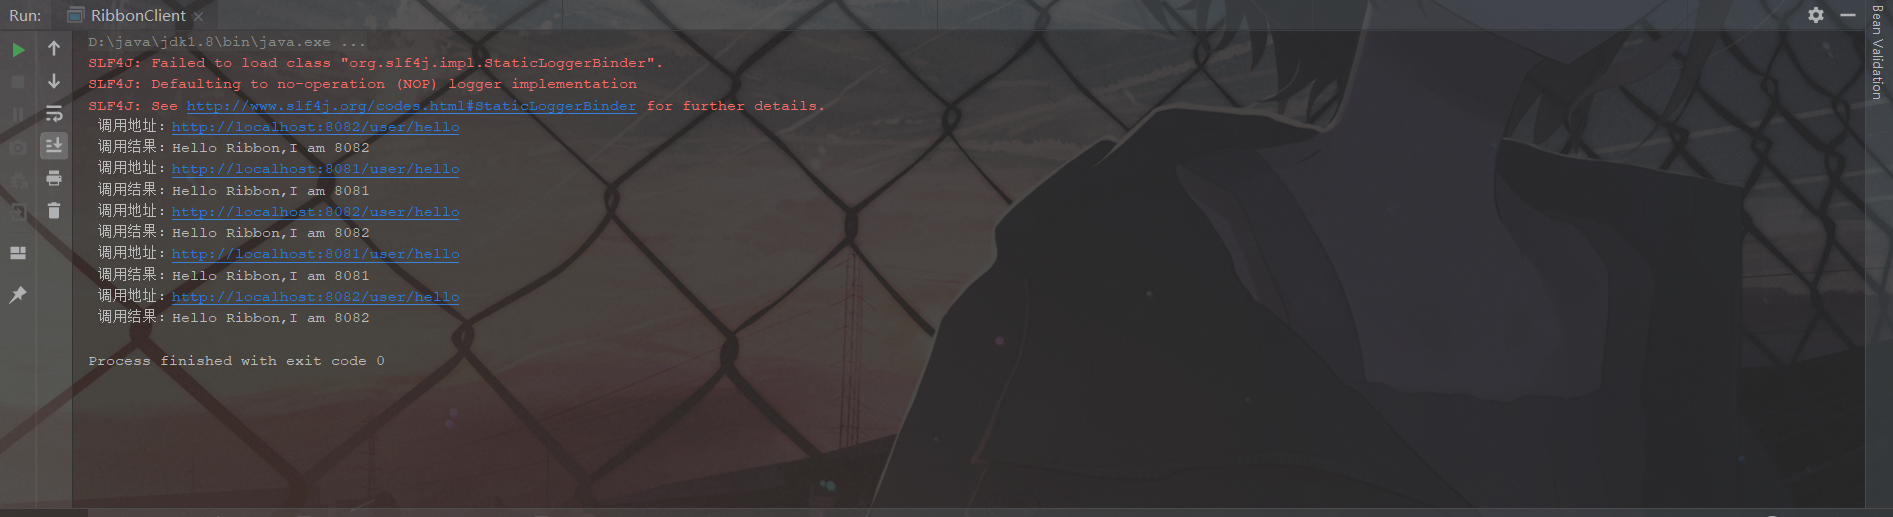
上述例子主要演示了Ribbon如何去做负载均衡,调用接口用的最底层的HttpURLConnection。当然也可以直接使用RibbonClient执行程序。控制台输出结果如下:
从输入结果中可以看到,负载均衡起作用了,8081调用了2次,8082调用了3次。
2. Ribbon 结合RestTemplate实现负载均衡 在上面已经简单的使用Ribbon进行了负载均衡的一个调用,其实在Spring Cloud中使用Ribbon会更加简单,很多配置都集成好了。
2.1 使用RestTemplate并整合Ribbon Spring提供了一种简单的模板类来进行API的调用,那就是RestTemplate。
2.1.1 使用RestTemplate 在之前介绍Eureka时,已经使用过RestTemplate了,本节会更加详细地跟大家讲解RestTemplate 的具体使用方法。
首先我们来看看GET请求的使用方式:创建一个新的项目spring-rest-template,导入相关依赖 :
1
2
3
4
5
6
7
8
9
10
11
12
13
14
15
16
17
18
19
20
21
22
23
24
25
26
27
28
29
30
31
<parent> <groupId>org.springframework.boot</groupId> <artifactId>spring-boot-starter-parent</artifactId> <version>2.0.6.RELEASE</version> </parent> <dependencyManagement> <dependencies> <dependency> <groupId>org.springframework.cloud</groupId> <artifactId>spring-cloud-dependencies</artifactId> <version>Finchley.SR2</version> <type>pom</type> <scope>import</scope> </dependency> </dependencies> </dependencyManagement> <dependencies> <dependency> <groupId>org.springframework.boot</groupId> <artifactId>spring-boot-starter-web</artifactId> <version>2.3.0.RELEASE</version> </dependency> <dependency> <groupId>org.springframework.cloud</groupId> <artifactId>spring-cloud-starter-netflix-eureka-client</artifactId> <version>2.1.0.RELEASE</version> </dependency> </dependencies>
写一个配置类,将RestTemplate配置到IOC容器中:
1
2
3
4
5
6
7
8
9
10
11
12
13
14
15
package com.self.template.config; import org.springframework.context.annotation.Bean; import org.springframework.context.annotation.Configuration; import org.springframework.web.client.RestTemplate; @Configuration public class BeanConfiguration { @Bean public RestTemplate getRestTemplate(){ return new RestTemplate(); } }
做测试之前需要创建一个HouseInfo的实体类,用于数据的封装:
1
2
3
4
5
6
7
8
9
10
11
12
13
14
15
16
17
18
19
20
21
22
23
package com.self.template.entity;public class HouseInfo private Long id; private String City; private String region; private String name; public HouseInfo () } public HouseInfo (Long id, String city, String region, String name) this .id = id; City = city; this .region = region; this .name = name; } }
接着可以新建一个HouseController,并添加两个接口,一个通过@RequestParam 来传递参数,返回一个对象信息;另一个通过@PathVariable来传递参数,返回一个字符串。代码如下:
1
2
3
4
5
6
7
8
9
10
11
12
13
14
15
16
17
18
19
20
21
22
package com.self.template.controller;import com.self.template.entity.HouseInfo;import org.springframework.web.bind.annotation.GetMapping;import org.springframework.web.bind.annotation.PathVariable;import org.springframework.web.bind.annotation.RequestParam;import org.springframework.web.bind.annotation.RestController;@RestController public class HouseController @GetMapping ("/house/data" ) public HouseInfo getData (@RequestParam("name" ) String name) return new HouseInfo(1L , "上海" ,"虹口" ,"东体小区" ); } @GetMapping ("/house/data/{name}" ) public String getData2 (@PathVariable("name" ) String name) return name; } }
新建一个HouseClientController用于测试,使用RestTemplate来调用我们刚定义的两个接口,代码如下:
1
2
3
4
5
6
7
8
9
10
11
12
13
14
15
16
17
18
19
20
21
22
23
24
25
26
27
package com.self.template.controller;import com.self.template.entity.HouseInfo;import org.springframework.beans.factory.annotation.Autowired;import org.springframework.web.bind.annotation.GetMapping;import org.springframework.web.bind.annotation.PathVariable;import org.springframework.web.bind.annotation.RequestParam;import org.springframework.web.bind.annotation.RestController;import org.springframework.web.client.RestTemplate;@RestController public class HouseClientController @Autowired private RestTemplate restTemplate; @GetMapping ("call/data" ) public HouseInfo getData (@RequestParam("name" ) String name) return restTemplate.getForObject("http://localhost:8083/house/data?name=" + name,HouseInfo.class ) ; } @GetMapping ("call/data/{name}" ) public String getData2 (@PathVariable("name" ) String name) return restTemplate.getForObject("http://localhost:8083/house/data/{name}" ,String.class ,name ) ; } }
下面的是主启动类:
1
2
3
4
5
6
7
8
9
10
11
12
package com.self.template;import org.springframework.boot.SpringApplication;import org.springframework.boot.autoconfigure.SpringBootApplication;@SpringBootApplication public class RestApplication public static void main (String[] args) SpringApplication.run(RestApplication.class ,args ) ; } }
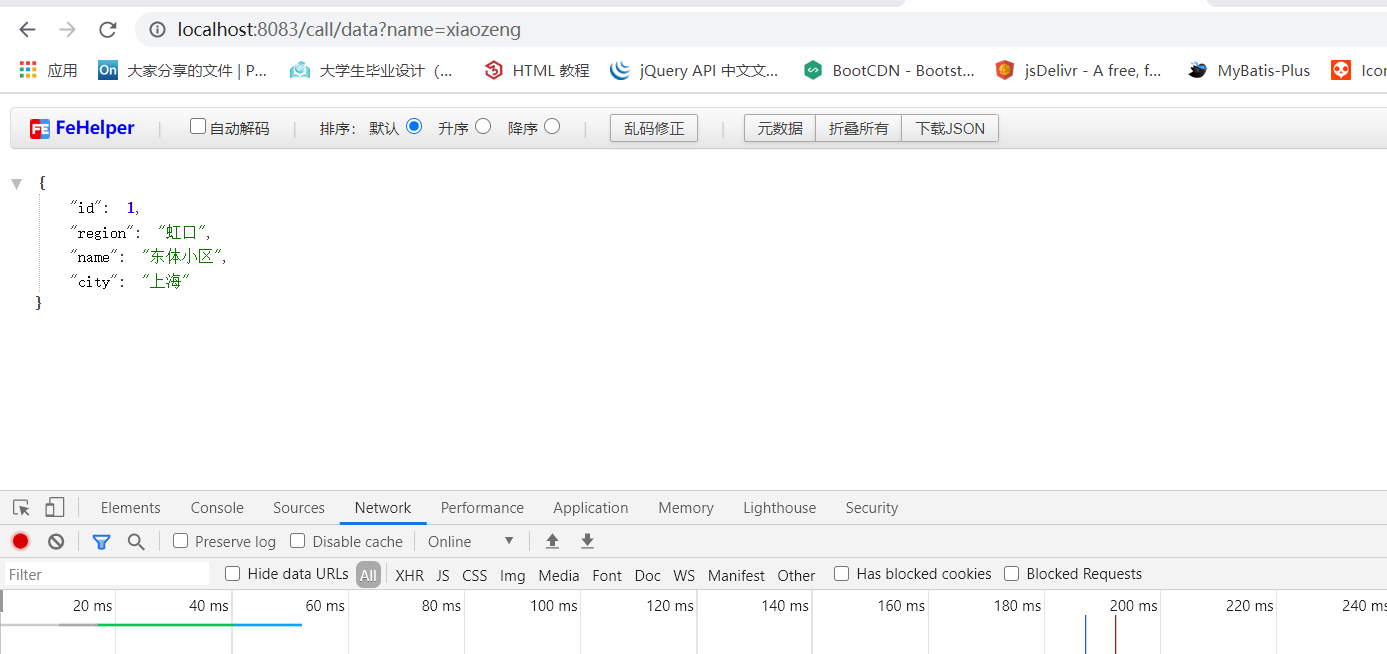
此时,启动项目后,通过http://localhost:8083/call/data?name=xiaozeng可以访问到第一个接口,返回的是一个HouseInfo的对象,结果如下图:
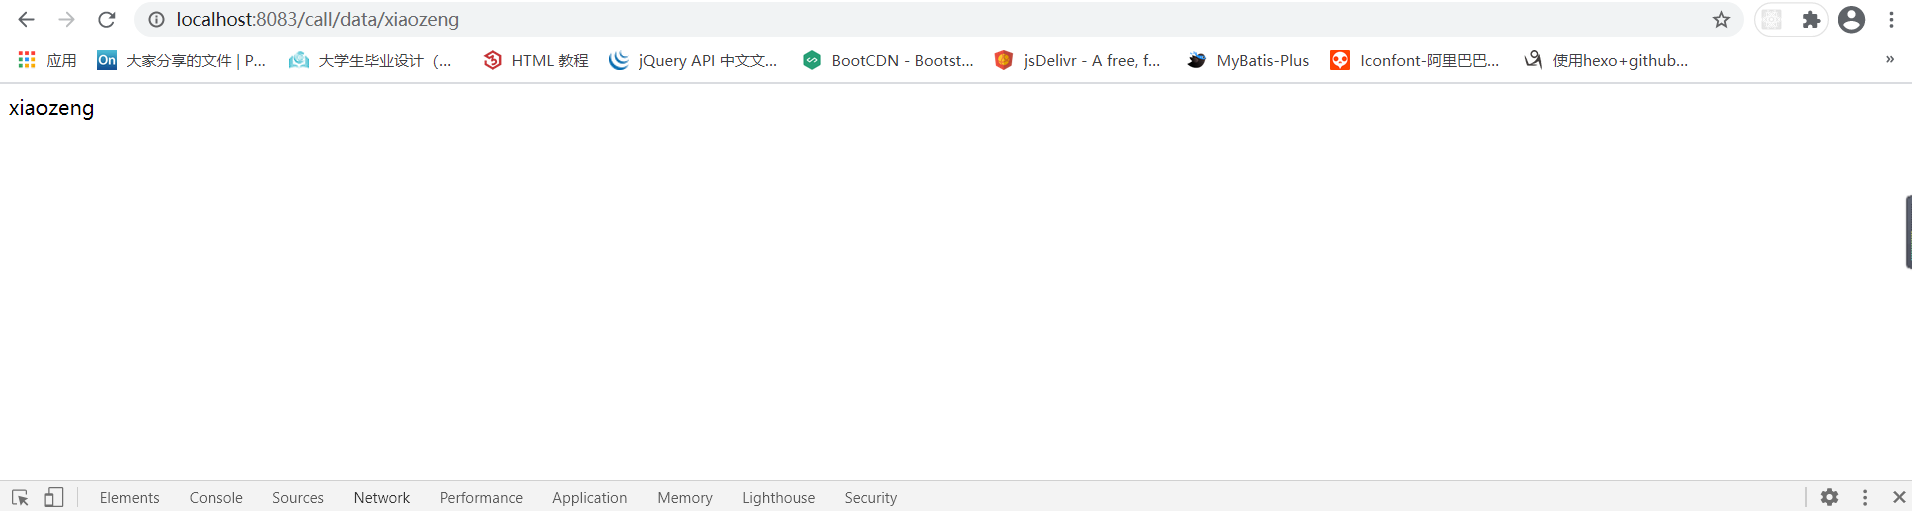
可以通过http://localhost:8083/call/data/xiaozeng,可以访问第二个接口,返回一个字符串,结果如下:
获取数据结果可通过RestTemplate的getForObject方法来实现,此方法有三个重载的实现:
url : 请求的API地址。有两种方式,其中一种是字符串,另一种是URI形式。
responseType : 返回值类型。
uriVariables : PathVariable参数,有两种方式,其中一种是可变参数,另一种是Map形式。
1
2
3
public <T> T getForObject (String url,Class<T> responseType,Object... uriVariabble) ;public <T> T getForObject (String url,Class<T> responseType,Map<String,?> uriVariable) ;public <T> T getForObject (String url,Class<T> responseType) ;
除了使用GetForObject,我们还可以使用getForEntity来获取数据,代码如下所示:
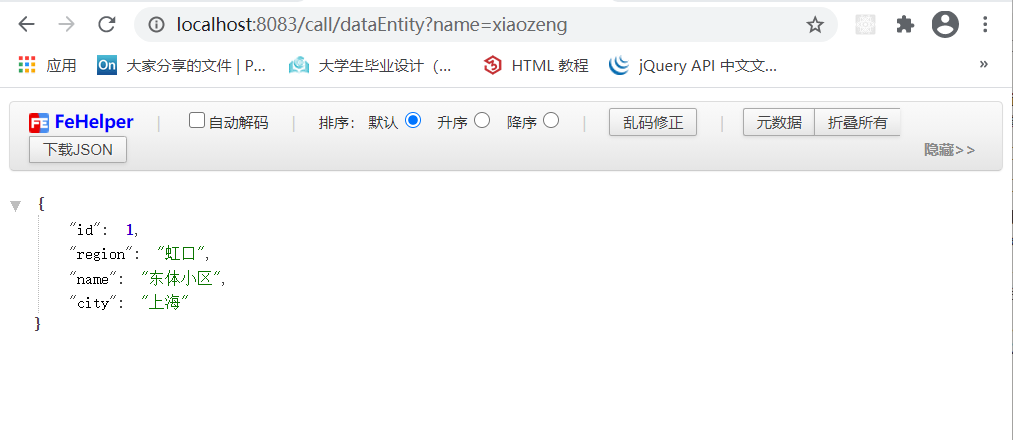
1
2
3
4
5
6
7
8
9
10
@GetMapping ("call/dataEntity" )public HouseInfo getDataByGetForEntity (@RequestParam("name" ) String name) ResponseEntity<HouseInfo> entity = restTemplate.getForEntity("http://localhost:8083/house/data?name=" + name, HouseInfo.class ) ; if (entity.getStatusCodeValue() == 200 ){ System.out.println("entity body = " + entity.getBody()); return entity.getBody(); } return null ; }
getForEntity中可以获取返回的状态码、请求头的信息,通过getBody获取响应的内容,其余的和getForObject是一样的,也有3个重载的实现。结果如下图:
接下来看看如何使用POST方法调用接口。在HouseController中添加一个addHouseData的方法来接收数据,代码如下:
1
2
3
4
5
@PostMapping ("/house/addHouseData" ) public Long addHouseData (@RequestBody HouseInfo houseInfo) System.out.println("data = " + houseInfo.getName()); return 1111L ; }
接着在HouseClientController中编写调用代码,用postForObject来调用接口,代码如下:
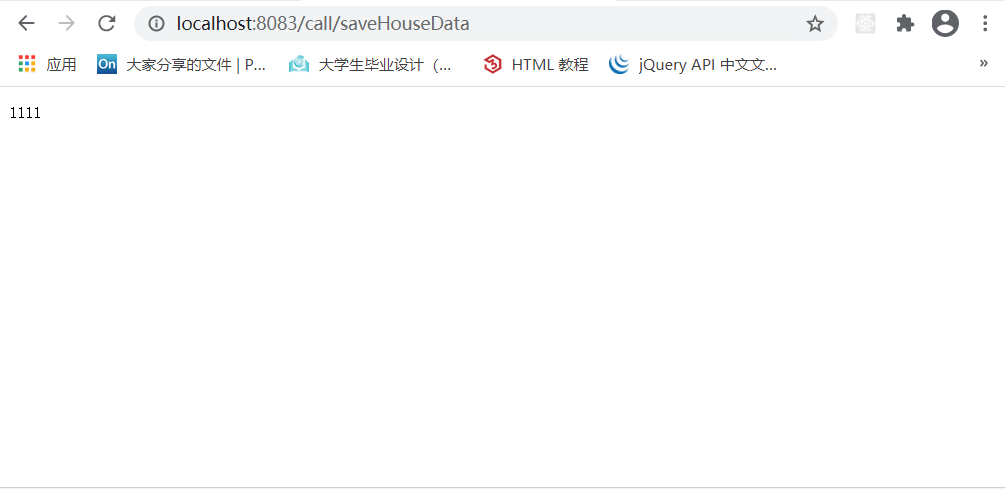
1
2
3
4
5
6
7
8
9
10
11
@GetMapping ("/call/saveHouseData" ) public Long saveHouseData () HouseInfo houseInfo = new HouseInfo(); houseInfo.setId(520L ); houseInfo.setCity("广西钦州市" ); houseInfo.setRegion("钦北区" ); houseInfo.setName("大直镇" ); Long id = restTemplate.postForObject("http://localhost:8083/house/addHouseData" , houseInfo, Long.class ) ; return id; }
启动项目通过访问http:localhost:8083/call/saveHouseData接口可以获取返回值和控制台输出:
postForObject同样有3个重载的实现。除了postForObject还可以使用postForEntity方法,用法都一样,代码如下:
1
2
3
public <T> T postForObject (String url,Object request,Class<T> responseType,Object... uriVariables) ;public <T> T postForObject (String url,Object request,Class<T> responseType,Map<String,?> uriVariables) ;public <T> T postForObject (URL url,Object request,Class<T> responseType) ;
除了get和post对应的方法,RestTemplate还提供了put、delete等操作方法,还有一个比较实用的就是exchange方法。exchange可以执行get、post、put、delete这四种请求方式。大家感兴趣可以自行学习。
2.2.2 整合Ribbon 在Spring Cloud项目中集成Ribbon只需要在pom.xml中加入下面依赖即可,其实也可以不用配置,因为Eureka中已经引入了Ribbon,代码如下:
1
2
3
4
<dependency> <groupId>org.springframework.cloud</groupId> <artifactId>spring-cloud-starter-netflix-ribbon</artifactId> </dependency>
2.2 RestTemplate 负载均衡示例 前面我们调用接口都是通过具体的接口地址来进行调用,RestTemplate可以结合Eureka来动态发现服务并进行负载均衡的调用。
修改RestTemplate的配置,增加能够让RestTemplate具备负载均衡能力的注解@LoadBalanced。代码如下所示:
1
2
3
4
5
6
7
8
9
10
11
12
13
14
15
16
package com.self.template.config;import org.springframework.cloud.client.loadbalancer.LoadBalanced;import org.springframework.context.annotation.Bean;import org.springframework.context.annotation.Configuration;import org.springframework.web.client.RestTemplate;@Configuration public class BeanConfiguration @Bean @LoadBalanced public RestTemplate getRestTemplate () return new RestTemplate(); } }
修改接口调用的代码,将IP + PORT改成服务名称,也就是注册到Eureka中的名称,代码如下:
1
2
3
4
@GetMapping ("/call/data" )public HouseInfo getData (@RequestParam("name" ) String name) return restTemplate.getForObject("http://ribbon-eureka-provider/house/data?name=" + name, HouseInfo.class ) ; }
调用接口的时候,框架内部会将服务名称替换成具体的的服务IP信息,然后进行调用。
2.3 LoadBalanced注解原理 相信大家一定有一个疑问:为什么在RestTemplate上加一个@LoadBalanced之后,RestTemplate就能够跟Eureka结合了,不但可以使用服务名称进行接口调用,还可以负载均衡??
其实是SpringCloud在底层为我们封装好的,可以简化代码,提高效率。
@LoadBalanced实现的主要逻辑就是给RestTemplate增加拦截器,在请求之前对请求地址进行替换,或者根据具体的负载均衡策略选择服务地址,然后再去调用,这就是@LoadBalanced的原理。
下面我们来实现一个简单的拦截器,看看在调用接口之前会不会进入这个拦截器。具体代码如下:
首先,创建拦截器MyLoadBalancedInterceptor :
1
2
3
4
5
6
7
8
9
10
11
12
13
14
15
16
17
18
19
20
21
22
23
24
25
26
27
28
29
30
31
32
33
34
35
36
37
38
39
40
package com.self.template.interceptor;import org.springframework.cloud.client.loadbalancer.LoadBalancerClient;import org.springframework.cloud.client.loadbalancer.LoadBalancerRequestFactory;import org.springframework.http.HttpRequest;import org.springframework.http.client.ClientHttpRequestExecution;import org.springframework.http.client.ClientHttpRequestInterceptor;import org.springframework.http.client.ClientHttpResponse;import org.springframework.util.Assert;import java.io.IOException;import java.net.URI;public class MyLoadBalancedInterceptor implements ClientHttpRequestInterceptor private LoadBalancerClient loadBalancer; private LoadBalancerRequestFactory requestFactory; public MyLoadBalancedInterceptor () } public MyLoadBalancedInterceptor (LoadBalancerClient loadBalancer, LoadBalancerRequestFactory requestFactory) this .loadBalancer = loadBalancer; this .requestFactory = requestFactory; } public MyLoadBalancedInterceptor (LoadBalancerClient loadBalancer) this (loadBalancer,new LoadBalancerRequestFactory(loadBalancer)); } @Override public ClientHttpResponse intercept (HttpRequest request, byte [] body, ClientHttpRequestExecution execution) throws IOException URI uri = request.getURI(); String serviceName = uri.getHost(); System.out.println("进入自定义的请求拦截器中 : " + serviceName); Assert.state(serviceName != null ,"Request URI does not contain a valid hostname:" + uri); return this .loadBalancer.execute(serviceName,requestFactory.createRequest(request,body,execution)); } }
拦截器设置好之后,我们定义一个注解@MyLoadBalanced,代码如下:
1
2
3
4
5
6
7
8
9
10
11
12
package com.self.template.config;import org.springframework.beans.factory.annotation.Qualifier;import java.lang.annotation.*;@Target ({ElementType.FIELD,ElementType.PARAMETER,ElementType.METHOD})@Retention (RetentionPolicy.RUNTIME)@Documented @Inherited @Qualifier public @interface MyLoadBalanced {}
然后定义一个配置类,给RestTemplate注入拦截器,代码如下:
1
2
3
4
5
6
7
8
9
10
11
12
13
14
15
16
17
18
19
20
21
22
23
24
25
26
27
28
29
30
31
32
33
34
35
36
37
38
39
40
41
package com.self.template.config;import com.self.template.interceptor.MyLoadBalancedInterceptor;import org.springframework.beans.factory.SmartInitializingSingleton;import org.springframework.beans.factory.annotation.Autowired;import org.springframework.cloud.client.loadbalancer.LoadBalancerClient;import org.springframework.context.annotation.Bean;import org.springframework.context.annotation.Configuration;import org.springframework.http.client.ClientHttpRequestInterceptor;import org.springframework.web.client.RestTemplate;import java.util.ArrayList;import java.util.Collections;import java.util.List;@Configuration public class MyLoadBalancerAutoConfiguration @MyLoadBalanced @Autowired (required = false ) private List<RestTemplate> restTemplates = Collections.emptyList(); @Bean public MyLoadBalancedInterceptor myLoadBalancedInterceptor () return new MyLoadBalancedInterceptor(); } @Bean public SmartInitializingSingleton myLoadBalancedRestTemplateInitializer () return new SmartInitializingSingleton() { @Override public void afterSingletonsInstantiated () for (RestTemplate restTemplate : MyLoadBalancerAutoConfiguration.this .restTemplates){ ArrayList<ClientHttpRequestInterceptor> list = new ArrayList<>(restTemplate.getInterceptors()); list.add(new MyLoadBalancedInterceptor()); restTemplate.setInterceptors(list); } } }; } }
维护一个@MyLoadBalanced的RestTemplate列表,在SmartInitializingSingleton 中对RestTemplate进行拦截器设置。
然后改造我们之前的RestTemplate配置,将@MyLoadBalanced添加进去,代码如下:
1
2
3
4
5
6
7
8
9
10
11
12
13
14
15
16
package com.self.template.config;import org.springframework.context.annotation.Bean;import org.springframework.context.annotation.Configuration;import org.springframework.web.client.RestTemplate;@Configuration public class BeanConfiguration @Bean @MyLoadBalanced public RestTemplate getRestTemplate () return new RestTemplate(); } }
最后创建一个接口,用于测试:
1
2
3
4
@GetMapping ("/call/data/byLoadBalanced" ) public HouseInfo getDataByMyLoadBalanced (@RequestParam("name" ) String name) return restTemplate.getForObject("http://ribbon-eureka-provider/house/data?name=" + name, HouseInfo.class ) ; }
重启服务,访问服务中的接口就可以看到控制台的输出了,这说明在接口调用的时候会进入拦截器,结果如下:
通过这个小案例可以很清楚的知道@LoadBalanced的工作原理。若还想更加深入的探究,可以自行去观看源码,这里不做过多的讲解。
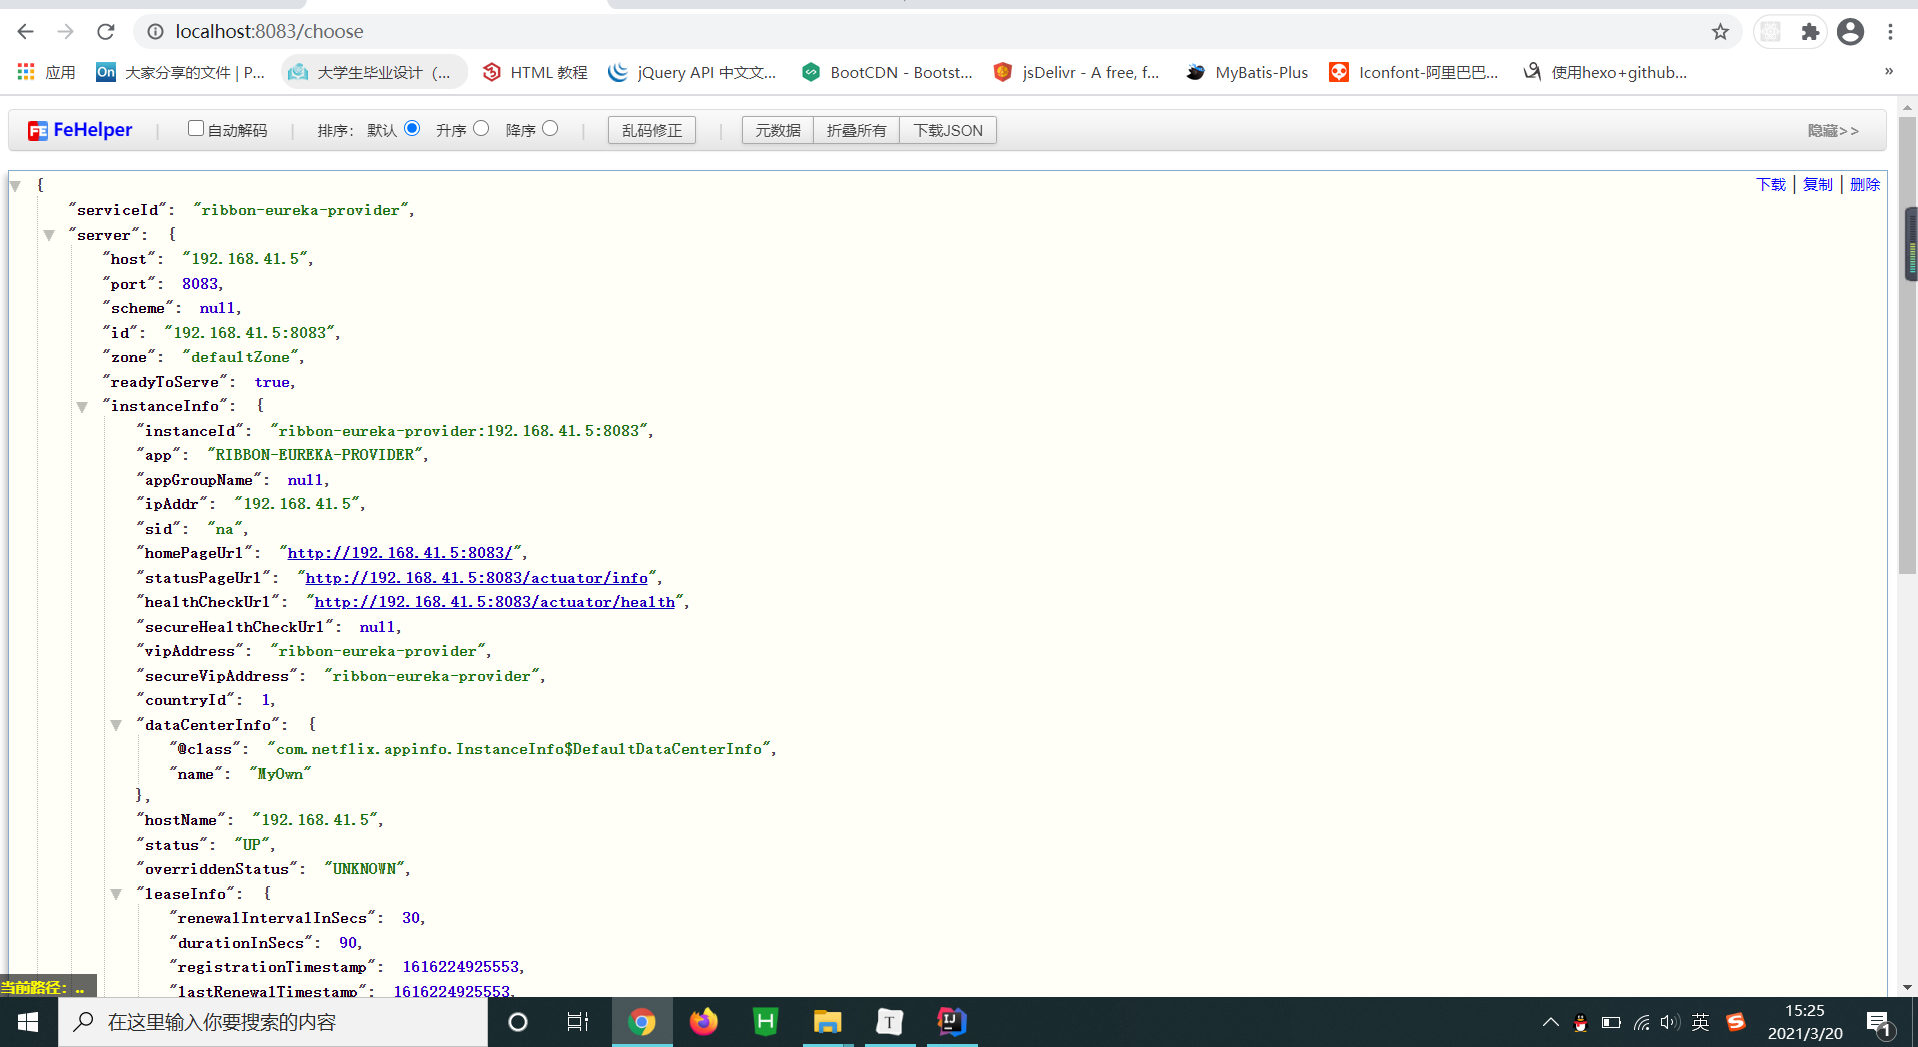
2.4 Ribbon API的使用 当你想通过Ribbon获取对应的服务信息时,可以使用LoadBalancer Client 来获取,比如想获取ribbon-eureka-provider服务的服务地址,可以通过LoadBalancerClient的choose方法:
1
2
3
4
5
6
7
8
9
10
11
12
13
14
15
16
17
18
19
20
21
package com.self.template.controller;import org.springframework.beans.factory.annotation.Autowired;import org.springframework.cloud.client.ServiceInstance;import org.springframework.cloud.client.loadbalancer.LoadBalancerClient;import org.springframework.web.bind.annotation.GetMapping;import org.springframework.web.bind.annotation.RestController;@RestController public class RibbonAPIController @Autowired private LoadBalancerClient loadBalancer; @GetMapping ("/choose" ) public Object chooseUrl () ServiceInstance instance = loadBalancer.choose("ribbon-eureka-provider" ); return instance; } }
访问接口,可以看到返回的信息如下:
2.5 Ribbon 饥饿加载 在进行服务调用的时候,如果网络情况不好,第一次调用会超时。
Ribbon客户端是在第一次请求的时候初始化的,如果超时时间比较短,初始化Client的时间再加上请求接口的时间,就会导致第一次请求超时。
通过配置eager-load来提前初始化客户端就可以解决这个问题:
1 2 ribbon.eager-load.enabled=true ribbon.eager-load.clients=ribbon-eureka-provider
ribbon.eager-load.enabled : 开启Ribbon的饥饿加载模式。
ribbon.eager-load.clients : 指定需要饥饿加载的服务名,若有多个则用逗号隔开。
3. Ribbon 负载均衡策略介绍 Ribbon作为一款客户端负载均衡框架,默认的负载聚恒策略是轮询,同时也提供了很多其他的策略,能够让用户根据自身的业务需求进行选择。
BestAvailable
选择一个最小的并发请求的Server,逐个考察Server,如果Server被标记为错误,则跳过,然后在选择ActiveRequestCount 中最小的Server。
AvailabilityFilteringRule
过滤掉那些一直连接失败的且被标记为circuit tripped 的后端Server,并过滤掉那些高并发的后端Server 或者使用一个AvailabilityPredicate 来包含过滤Server的逻辑。其实就是检查Status里记录的各个Server的运行状态。
ZoneAvoidanceRule
使用ZoneAvoidancePredicate和AvailabilityPredicate 来判断是否选择某个Server,前一个判断一个Zone的运行性能是否可用,剔除不可用的Zone,AvailabilityPredicate用于过滤掉连接数过多的Server。
RandomRule
随机选择一个Server
RoundRobinRule
轮询选择,轮询index,选择index对应位置的Server
RetryRule
对选定的负载均衡策略机上重试机制,也就是说当选定了某个策略进行请求负载时在一个配置时间段内选择Server不成功,则一直尝试使用subRule的方式选择一个可用的Server。
WeightdResponseTimeRule
根据相应时间分配一个Weight(权重),响应时间越长,Weight越小,被选中的可能性越低。
4. Ribbon配置详情 4.1 常用配置 4.1.1 禁用Eureka 当我们在RestTemplate上添加@loadBalanced注解后,就可以用服务名称来调用接口了,当有多个服务的时候,还能做负载均衡。
这是因为Eureka中的服务信息已经被拉取到了客户端本地,如果我们不想和Eureka集成,可以通过以下的配置将其禁用:
1
2
# 禁用 Eureka ribbon.eureka.enabled=false
当我们禁用了Eureka之后,就不能使用服务名称去调用接口了,必须指定服务地址。
4.1.2 配置接口地址列表 如果禁用了Eureka,禁用之后就需要手动配置调用的服务地址了,配置如下:
1
2
# 禁用 Eureka 后手动配置服务地址 ribbon-config-demo.ribbon.listOfServers=localhost:8081 ,localhost:8083
这个配置是针对具体服务的,前缀就是服务名称,配置完之后就可以和之前一样使用服务名称来调用接口了。
4.1.3 配置负载均衡策略 Ribbon 默认的策略是轮询,通过配置可以指定服务使用哪种策略来进行负载操作。
….
4.1.4 超时时间 Ribbon中有两种和时间相关的设置,分别是请求连接的超时时间和请求处理的超时时间,设置规则如下:
1
2
3
4
5
6
7
8
# 请求连接的超时时间 ribbon.ConnectTimeout=2000 # 请求处理的超时时间 ribbon.ReadTimeout=5000 也可以为每个Ribbon客户端设置不同的超时时间, 通过服务名称进行指定: ribbon-config-demo.ribbon.ConnectTimeout=2000 ribbon-config-demo.ribbon.ReadTimeout=5000
4.1.5 并发参数 1 2 3 4 # 最大连接数 ribbon.MaxTotalConnections=500 # 每个host最大连接数 ribbon.MaxConnectionsPerHost=500
4.2 代码配置Ribbon 配置Ribbon最简单的方式就是通过配置文件实现。当然我们也可以通过代码的方式来配置。
…